Time to Address the Dining Room's Last Ugly Spot
As you'll see below, a cover for the radiator in the dining room was the last key to finishing off a beautiful redo! Sometimes a radiator in a room is okay without a cover, but in the dining room it seemed such a waste of space right there in front of a bank of windows. This project took care of that!
Winter Came Early This Year
We cannot stop the winter or the summer from coming. We cannot stop the spring or the fall or make them other than they are. They are gifts from the universe that we cannot refuse. But we can choose what we will contribute to life when each arrives. - Gary Zukhav
Of course for me it's okay because I love winter! The problem is, when last we met I had taken out windows in the bedroom, and planned to get them painted and rehab'ed before winter came. As it turns out, I did get some work done...
But then the winter turned and I had to put the windows back in before the snow flew. In this case I ripped a new parting bead so I could re-install them...
Woodworking is a most satisfying pastime, so varied and multifaceted you will never complete the twin processes you have undertaken: acquiring tools and learning how to use them. You have begun a lifetime pursuit. - Michael Dunbar, "Essential Tools"
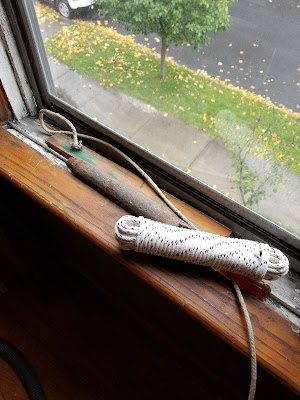
I also managed to restring the window weights...
A Good Time to Build
But alas, the windows will have to wait 'til spring. But all is not lost! I decided now was as good a time as any to build a cover for the radiator in the dining room. This particular radiator has looked bad for some time, as you can see in this picture from a few years ago...
But after all the work that's gone into the dining room, it's really time to do something with the radiator.
Getting Started
Finally, today I got started on building a cover. Like just about everything I do around here, I've contemplated the design, finish and building steps faaar too long! But - that's how I roll I suppose. One thing I try to do in the dining room is to make different pieces look like they belong together. It all started with the table, elements of which I tried to carry over to the hutch and plant stand, and certainly to the fireplace and bookshelf built-ins. So, after cutting the rails and stiles...
...I decided to round over the outer edge of the stiles leaving a little reveal...
...like I had done on the fireplace facing legs...
Then, using the new Kreg jig I got with my birthday money (yes, I still get money for my birthday!) I made the pocket screw holes...
...and assembled the face-frame.
Obviously, there's still a long way to go but I'm happy with what's done so far. And here's where we leave off for the day:
We'll see how the week goes at work, hoping to get more done in the evenings!


