

Made at 173
A Long Time Comin'
This is a fun little project that stems from back when we put the new decking on the back stoop. I had some leftover and scrap wood, and considered returning the extra boards. Then one evening I asked the Google machine for some project ideas for scrap 2x6 boards. A number of projects came to mind... mostly little googaw type things. But then this Leopold bench caught my eye and, quite frankly, I was intrigued. Fair warning, this is a bit of a rambling story... just sayin'. Let's get into it.

A Quick Story
Before we get going, let me tell you a quick story. Sometime around 1999 we planted this little twig of an apple tree. I distinctly remember saying that someday I'd build a bench to sit under our apple tree.

Over the years, that little twig of a sapling grew to be a beautiful apple tree right there in our front yard, and the time had finally come to build that bench!

What's a Leopold Bench?
The Leopold bench, designed by landscape architect and conservationist Aldo Leopold, has its roots in the early 20th century and reflects a philosophy of land stewardship and connection to nature. Leopold, often considered the father of wildlife management and modern conservation, was deeply influenced by his experiences in the Wisconsin wilderness.

Over the years, the Leopold bench has become a popular feature in parks, nature reserves, and educational institutions, embodying the principles of conservation and ecological awareness.

Also, the Leopold bench holds functional usefulness not readily apparent. By sitting backward, with legs through the opening, the backrest now provides sturdy support for the elbows while using binoculars or cameras to observe nature. The benches are meant to be outdoor furniture that would weather and blend in with the surroundings, eventually returning to earth (Wikipedia).
The Original Design
This next picthere represents the original design that ol' Aldo would have made. It's a little different than the version I made, and I'd describe the original as sleek, simple, almost brutalist (in a good way). Larger, but fewer boards, probably 2x10s as opposed to the 2x6s in the version Made at 173!

The Rogue Engineer Version
I like the look of the original bench but Jamison Rantz of The Rogue Engineer played around with the design and came up with plans for a different esthetic based on the same principles for the Leopold bench.
I think the biggest differences are that Rantz's version uses two 2x6s for the back and for the seat, and the entire bench is made of just 2x6s.
Materials Needed
- 4 – 2 x 6 x 8′ Pressure Treated Lumber
- 2-1/2″ or 3″ Exterior Wood Screws

Tools
This project didn't take a lot of tools. After all, there were just a few cuts and just assembling it with screws, so obviously you need saws and drills. But aside from that, there's really not a lot to it, here's a quick list.
- Circular saw or miter saw (I used both)
- Drill
- Measuring tape
- Sander
- Clamps

There are some who can live without wild things and some who cannot. For us of the minority, the opportunity to see geese or wild flowers is a right as inalienable as free speech. - Aldo Leopold
A standard Leopold bench is about 4 to 6 feet long, 18 inches tall, and 18-24 inches deep. I built 173's with a 48" wide seat, and just followed Rantz's instructions pretty much to the inch.
The Legs
Like I've already mentioned at least a couple times so far in this post, this is a really simple design. The legs are made up of 2 boards each, that crisscross, and the instructions were clear as day. Nonetheless...I struggled mightily for an hour or two. You may ask "why" but my reply could only ever be: f#$%*@g geometry.

I must have layed out the legs a half dozen times before I figured it out... instructions and all!

To fasten the leg boards together I used GRK structural screws.
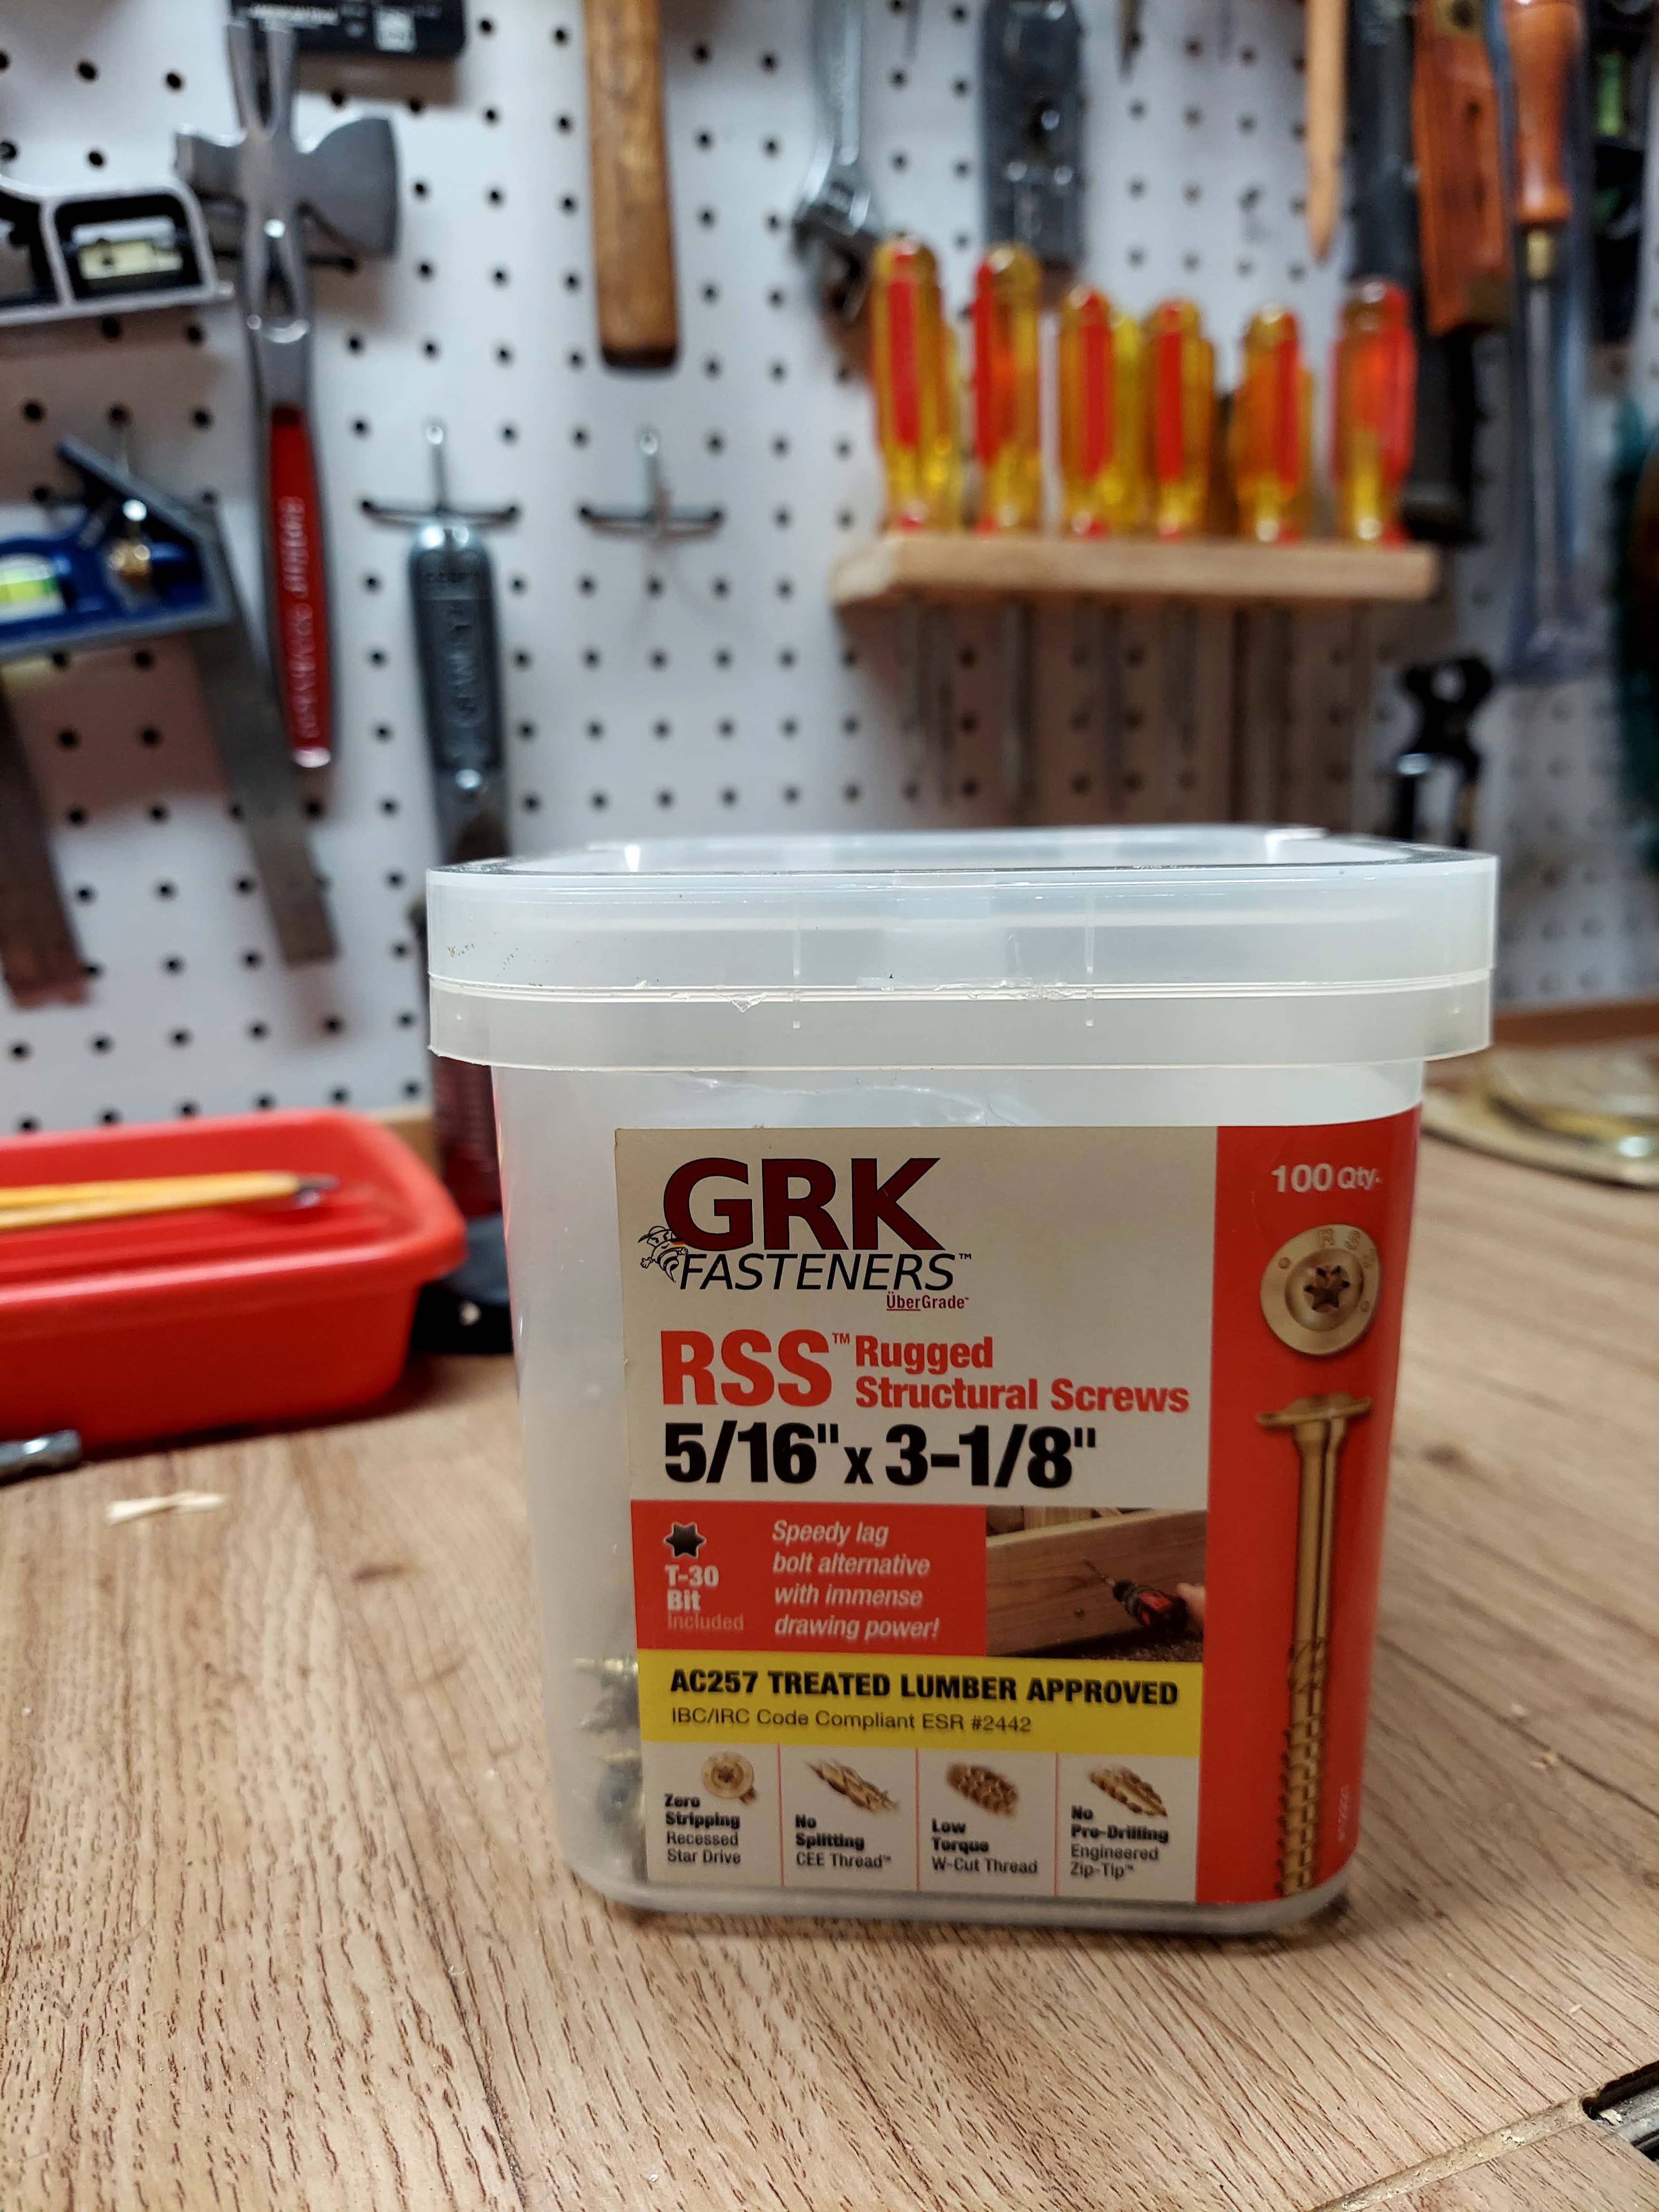
Not only are they specially coated for use with pressure treated lumber, they're incredibly strong! I think the bench will hold!

Anyway, after way much more time than I care to admit, the bench legs were finally assembled. Which signaled the perfect time on a Friday night to call it quits for the day.

Wrapping Up
Surprisingly, final assembly really didn't take a lot of time. Usually if I estimate that something should take an hour, it ends up taking 5...6...maybe even 7 hours. Of course, I hope that's at least a slight exaggeration!

The seat went in first, then came the two back boards.

Unfortunately, as is so often the case, I got going on the assembly and forgot to pause every so often to take progress pictures. I should also point out that I used one of my large pipe clamps to draw the top of the back on both sides together to fix the boards. This made that job so much easier to align the boards.

If you don't have pipe clamps, I highly recommend that you get them. They're a little bit pricey because they usually come with the clamp parts and then you buy the pipes separately. I have a small collection of them... I don't use them often, but when you need one - they help!

Then there's this. The GRK screws were just the tiniest bit long so the tip came through by maybe 1/16 of an inch. It's certainly not much but, in the interest of safety, I ground them down with my Dremel.

I also put a hole through both back legs to be able to run a chain through. The purpose of that is that the bench will be in the front yard and, while we have a nice community, we don't want to tempt anybody to just walk away with it. We've never really had anything like that happen here at 173 except that time many years ago when somebody stole a plant off the front steps. A plant! Aside from that, it's just a matter of not being the temptation.

Then I spent about 20 minutes sanding just to knock off any rough spots or chuff marks and remove the stamped ink that you get on a board from a big box store.

Staining!
Then it was time to apply some stain! I think it took less than 10 seconds to decide what color this bench would be. I associate a Leopold bench with nature as did ol' Aldo himself so it just seemed natural to put a green bench in a very green front yard! So...

You might remember the Valspar Forestland stain from the potting bench we built back in 2022. The perfect color for the vision!

When we got started with staining, it seemed obvious to start with the underneath portion of the bench.

That made it much easier to stain the rest of the bench.

I'd say it took maybe 20 minutes max to stain, and it seemed like no sooner did we start this little project and it was done. Geometry and all... it didn't take all that long to build this beauty!

Its Natural Habitat
Here we are, after all these years...a bench under the apple tree!

What more natural habitat could there possibly be for a Leopold bench? A bench promised and spoken into existence at least a quarter century ago!

Really...it was so much fun making this bench I rather wish there was space to build another one. Who knows? Maybe someone in the neighborhood will see Leo here (yeah, I think I just named it!) and will ask! In the meantime, thanks for stopping by and - see ya' next time!
