

Happy Little Accidents
Fixing Mistakes
As I sat down to begin writing this post, I thought of the many times when I would get close to finishing a project and wind up rushing through a step or two. Then, usually in a very short time, I'd realize a mistake or two had been made, and I'd have to spend even more time fixing the mistake... usually with an expletive or two mumbled under my breath. As the saying goes...every time I neglect doing something correctly the first time, sooner or later it creates more work for me and others involved in the task. I really must remember to think of these moments, as Bob Ross would say, as Happy little accidents. Anyway, this post is about just such a time... let's get into it.

Reason One
I don't know how this happened. Back in 2017 when I built the fireplace and bookcases, I went to great lengths to string the wiring from the circuit breaker box to the workshop, through predrilled holes in the floor joists and up through the floor into the dining room. But somehow..some way...I missed this one hole...

I didn't even notice 'til maybe a year later. I smacked my forehead and added it to the list of things to do.
Reason Two
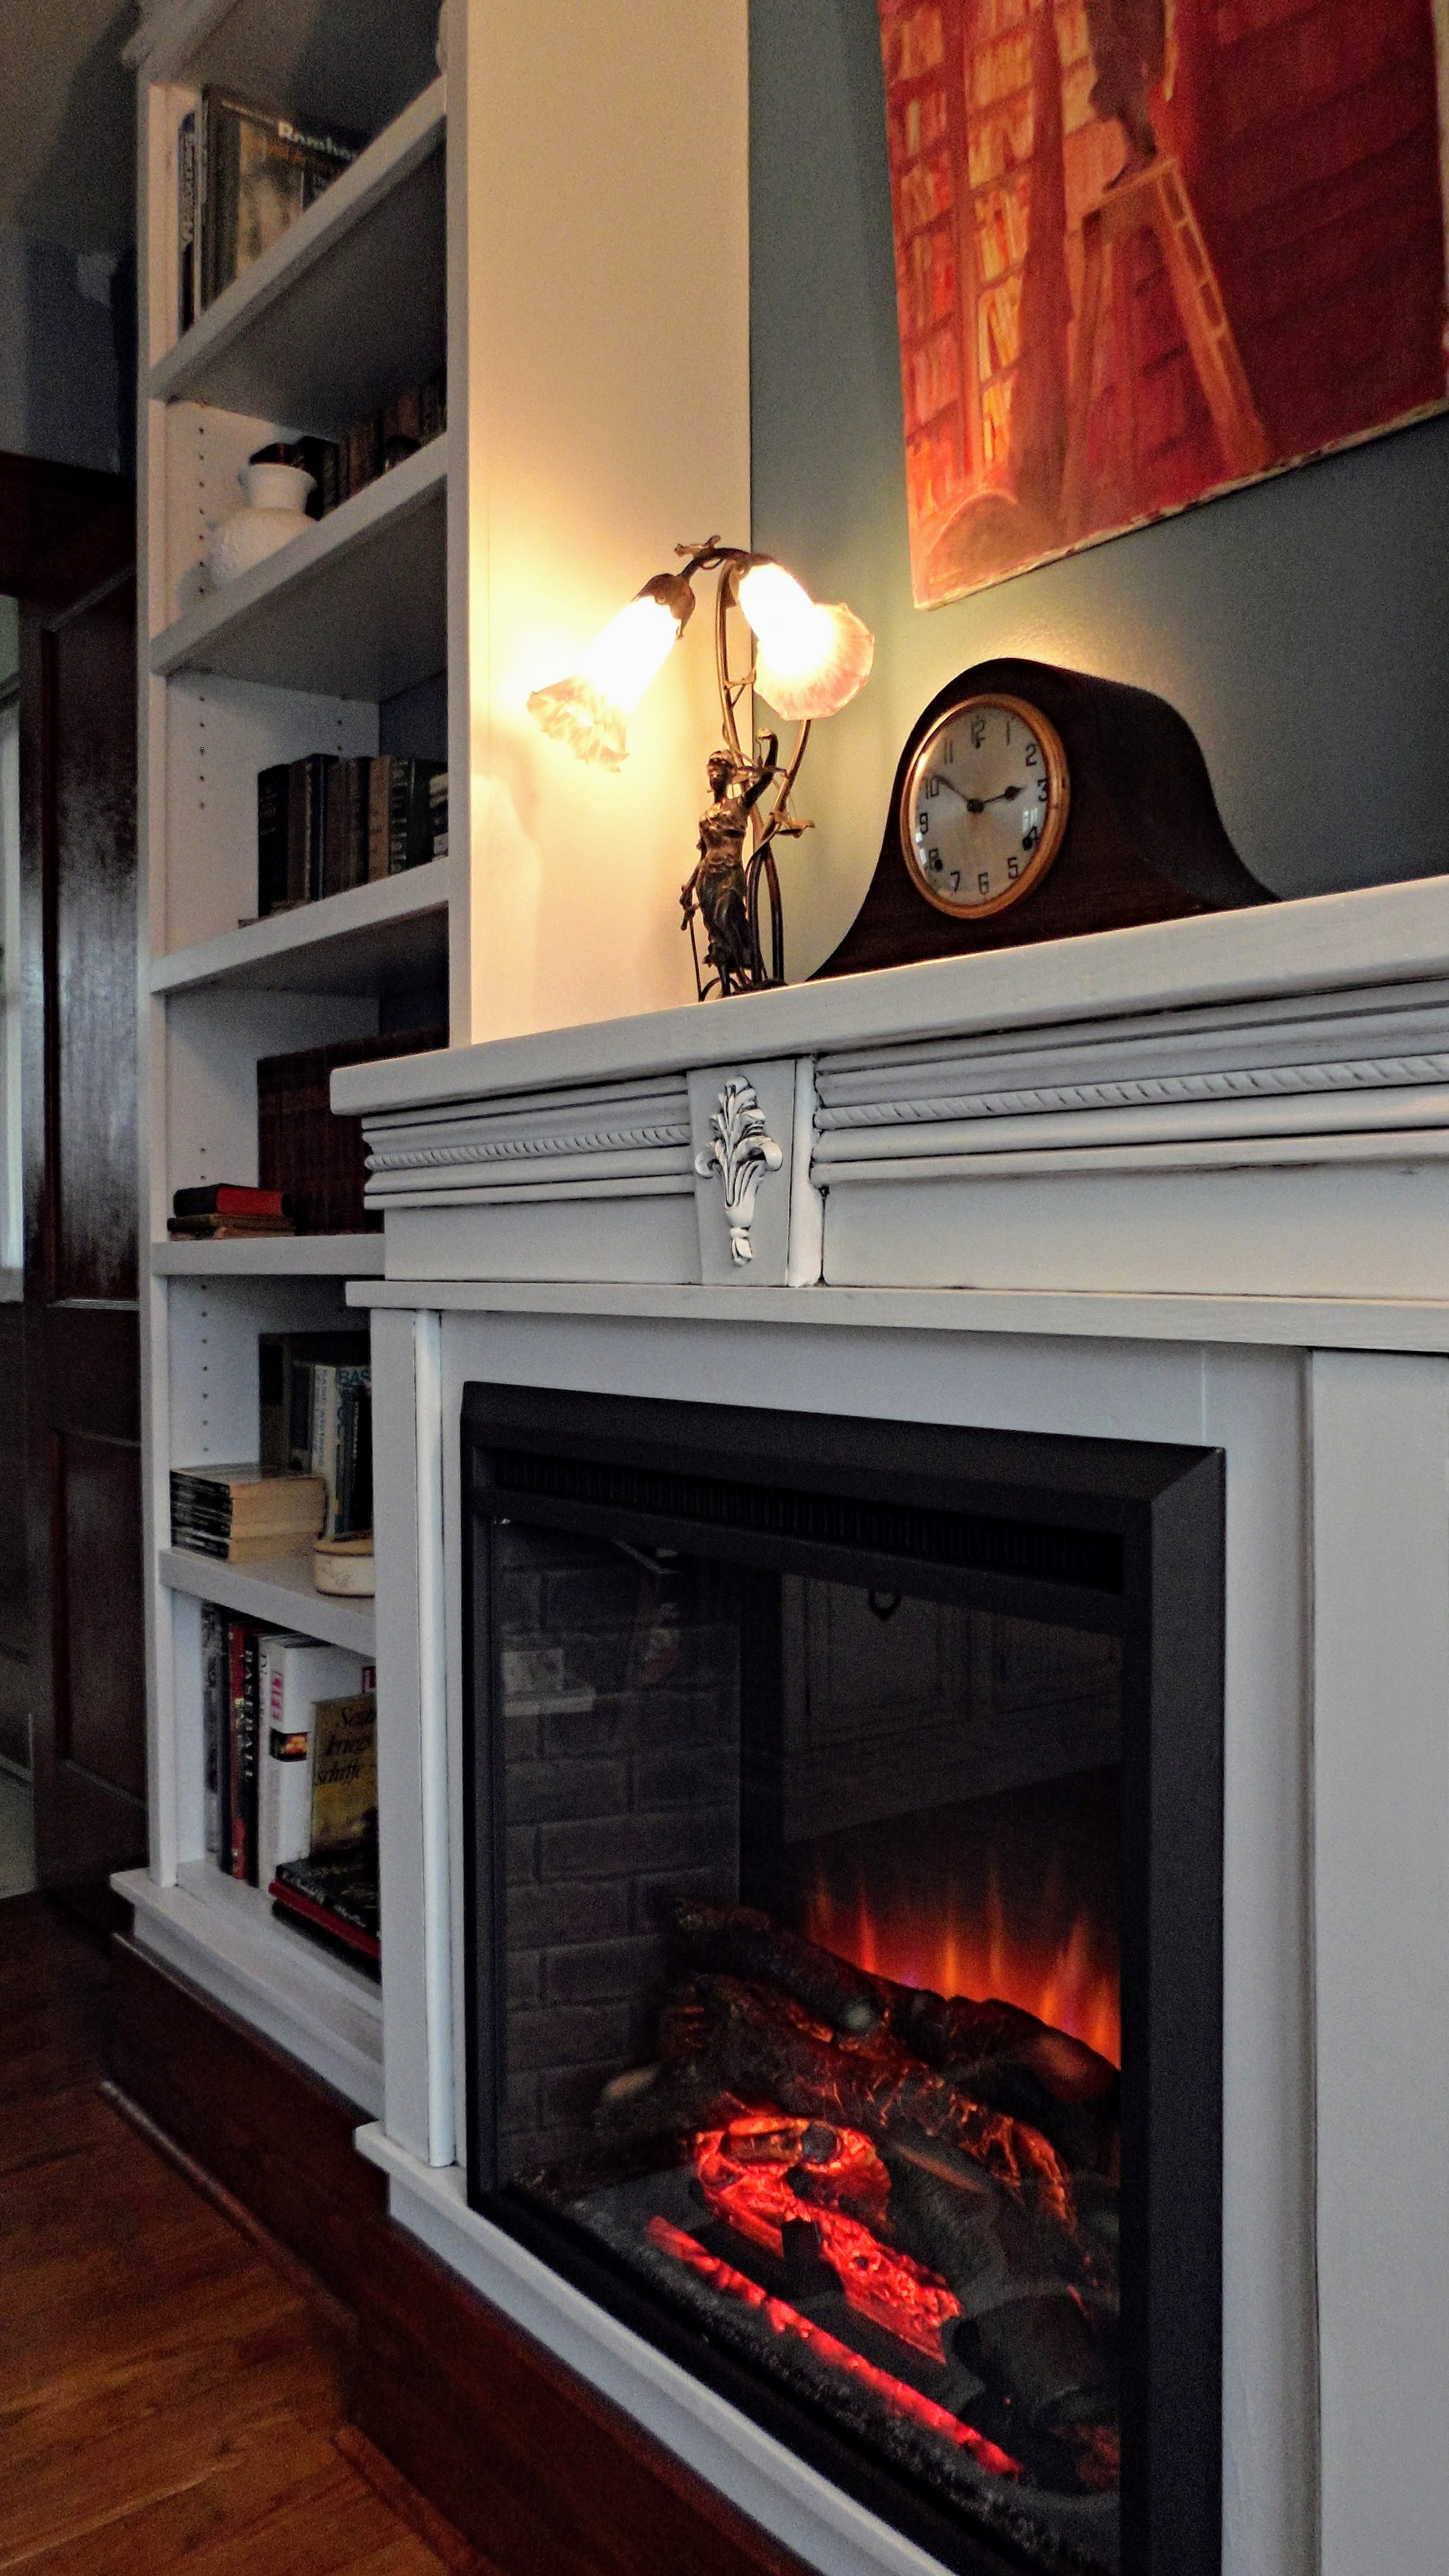
When I built the fireplace mantel, I knew I'd want to have access to the power outlet for a lamp, or Christmas lights, maybe even a radio (yes, a radio). So I drilled a hole and inserted a desk cable grommet.

I had this old Lady Justice lamp we picked up at an antique store back in Horseheads sometime around '93 or '94. The only problem was that it had one of those inline switches, so to turn it on and off, the switch has to be exposed. Not a big problem but as you can see in this next picture, the amount of cord jumbled about the base is low-key unsightly.

The solution was a simple as a wireless outlet with a remote! I'll show you the difference in a few minutes!

If you don’t have time to do it right, when will you have time to do it over? – John Wooden
The Panacea
My thought was that the solution would be as simple as pulling out the fireplace and inserting that wireless outlet, plug everything in and off we go. But after pulling the fireplace out and trying the placement of the wireless outlet with plugging in the fireplace and the light from up above, it became clear that the outlet facing out of the box just wouldn't work. There wasn't enough depth in the built-in to handle that approach.
.jpg)
And, before I go any further tlet me point out that, as is always the case here at 173, what I thought would be a couple of minutes to get things plugged in, it turned out to be probably a good hour-and-a-half.

And instead of needing no tools, I ended up needing this batch as you see in the picture. That's just how things go here at 173 with every...single...project!

So to make all of this work, I pulled the outlet out and remounted it on the stud through the back of the outlet box. That way, there'd be enough space inside to plug everything in.

Here you can see that inline switch for the lamp, which now is under the mantle, and the lamp will now be managed usinga remote control which makes everything so much neater on the mantel.

So, if you remember that first picture of the lamp, the cord was bundled up around the base and now (at the arrow), you can see where it just disappears below the mantel...a much tidier look!

How it Shoulda Been!
Finally, after all these years, the wire us properly installed, going through each of the floor joists and routed properly!

And here's a close up showing how nice it ended up looking from inside the workshop. I even put more wiring staples in to keep it in place, nice and straight, and much more finished looking!

And at the End of the Day
You could barely tell anything had been just by looking.
But I know!
Hey, thanks for stopping by - see ya' next time!
