

Legacy Project
Finally, the Full Story
This post is another of our Legacy Projects here at House 173 wherein we tell the story of some long ago project - in this case it's about the dining room hutch!
Back in 2015 I made the compulsive move to buy a used pedestal table for the dining room and painted/antiqued it. The table turned out so nice we were inspired to add a hutch. I included the hutch in an overview post, but never got around to digging into the full story of the hutch project- 'til now...let's get into it.
The Find
From the time we bought 173 back in'97, I always felt 173 needed a good old-fashioned dining room, including a good old-fashioned hutch. One day in 2015 I was at the Habitat for Humanity ReStore and saw this incredible hutch. It was a significant piece, a little old-school, which fits the house, and it had some interesting architecture. But when I first saw it they wanted something like $300 for the thing which just seemed a little much for a second-hand hutch, so I walked away.
A couple weeks later we went back for something else and found that the hutch was still there. I thought that was crazy because of its sheer beauty, but I guess maybe it's that whole "eye of the beholder" thing, maybe even that$300 price tag. Or maybe it was just meant to be! Anyway, there it was - and for something like $85! Ch-ching! Out the door it went. Back then, this was the biggest car in the stable:

So I called a neighbor and without hesitation he was on his way with his pickup truck. Within an hour the hutch was in its new home!


By the Way
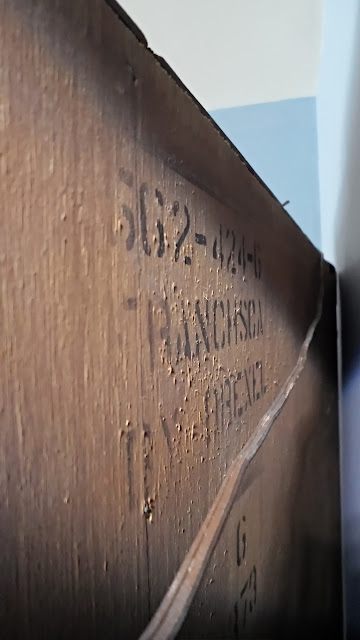
You know how it is when you find something new and you want to learn a little about it? Well, when I was cleaning the hutch I saw this code on the back panel:

A couple minutes with the Google machine and check out what I learned!


Right?? I was cracking up!! Either this guy was gouging some poor sap or I got a hell of a deal!
Dismantled and Cleaned
Anyway, the hutch was in very nice condition. Although it had some damage and it definitely needed cleaning. The first thing I did was take all the doors off, and gave the whole thing a good scrubbing. Scrubbing took gosh, probably at least an hour to. At least an hour (yeah, I know I said that twice - emphasis!).
The picture above and the one this next one point out one of the nice features of this hutch - the storage in the lower half, including a drawer. Maybe by the end of this post, I'll take some pictures and show you what's actually stored in here!

A Few Repairs
The hutch is at least second hand, and was showing its age. But I really have to say it was in good shape...solid as can be but as can be expected, it had some minor scratches and dings. I decided to leave most of them but there were a few areas at the bottom corners, and one top corner that looked like a hungry pooch used as appetizers.

I didn't go crazy with repairs, I just used some Bondo to fill and smoothe the damaged areas.

Priming
Well, now it was time to get to work on it! And this thing was a beast! I really don't know how many man-hours it took to finish the hutch, but I'd say easily 20 hours. Sanding, priming - using B-I-N brand, which I've had a lot of success with.

The priming seemed endless and monumental.

And just when you think you should be fine, there was more priming... there was just so much surface area!

Painting
Much like priming, painting took awhile too, mostly because I applied two coats.

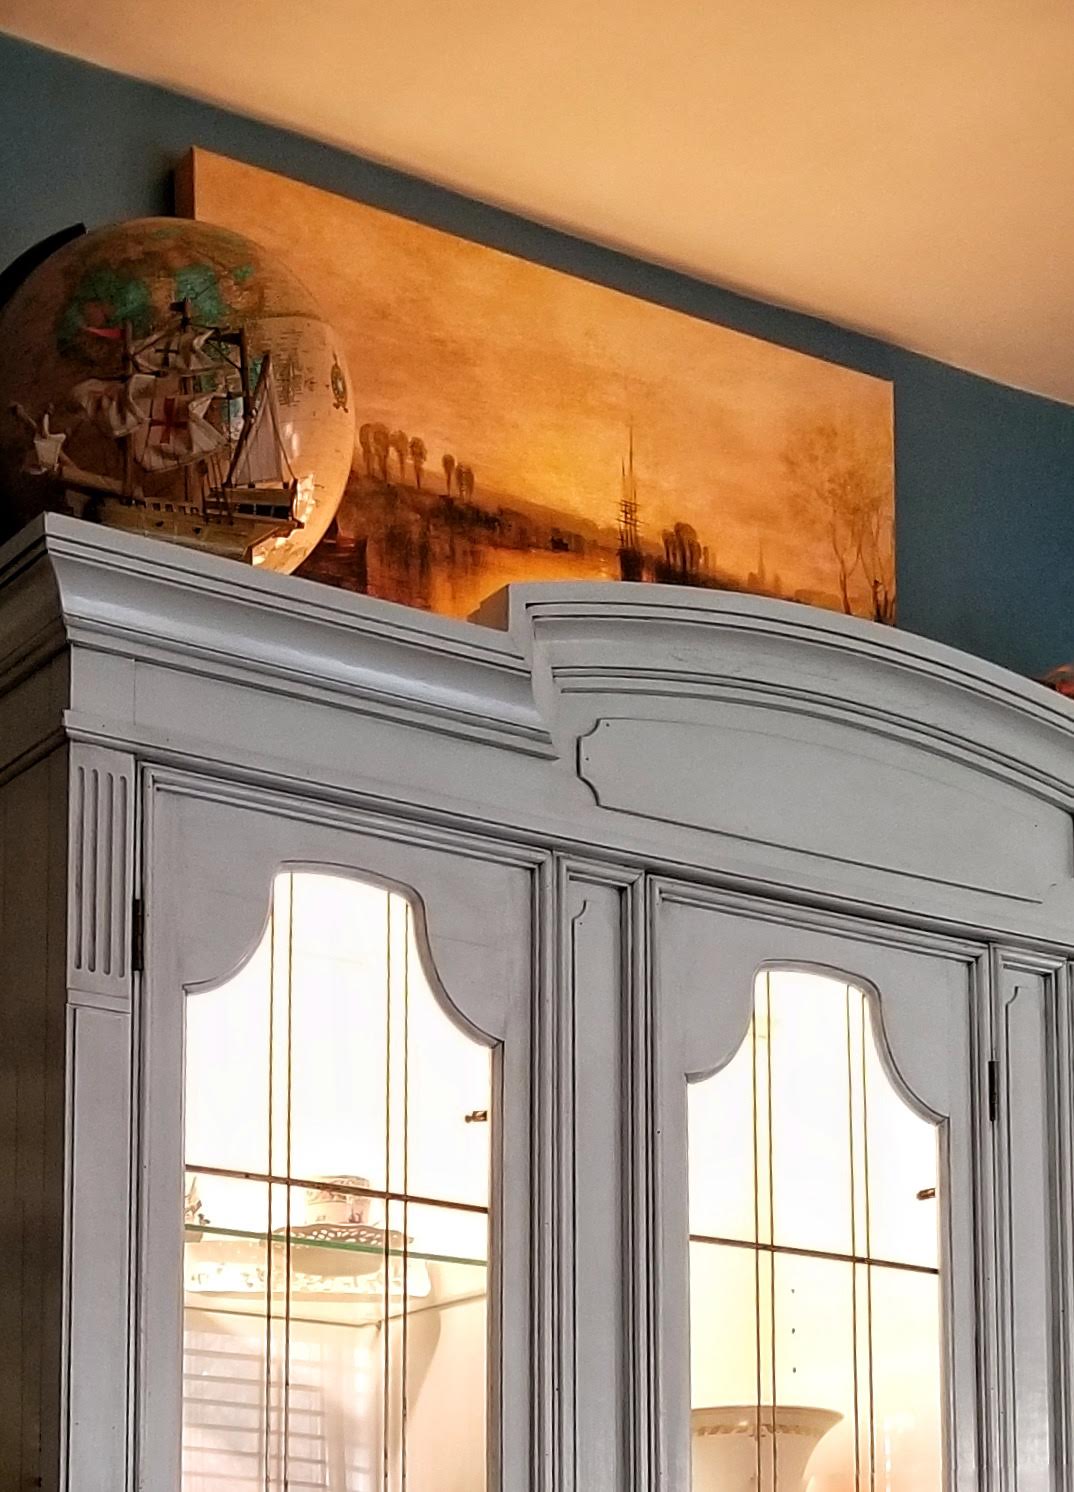
I loved the white which, on the paint chip is actually a light gray called Polar Star on the paint chip. I originally used the same color on the dining room table, then on the built-in, the radiator cover, and a plant stand.


It comes to me every day of my life that a home spirit is being awakened amongst us, that as a nation we are beginning to realize how important it is to have homes of our own, homes that we like, that we have been instrumental in building, that we will want to have belong to our children. - Gustav Stickley
Antiquing
I love antiquing these painted furniture pieces. My favorite glazing is Valspar's Signature Antiquing Glaze, but I have recently learned this particular line has been discontinued by Lowe's. So, if or when I do another piece I'll (sadly) have to find a new glaze.

Anyway, the glaze really made all the architectural and minor flaw details really pop (I guess that's what glazing is for!).

A Few Details
The hutch already had lamps installed so the inside could be lit... perfect, because if the lamps weren't there I had planned on adding some. All I had to do was rewire the lamps.

I know, I know...I didn't paint all the way around the lamps but, you'd have to crawl inside the hutch to ever know. That is aside from me pointing it out right here!

I also replaced all the wooden shelves with tempered glass that I had cut at Dave's Glass. Not complaining but...I think the shelves cost more than the hutch!

A Small Gallery
This was a pretty good size project. I think I days earlier that it took maybe 20 hours, and after re-thinking all the steps while writing this post...I still think it was at least 20 hours of labor! To wrap up, here's a few more shots of the hutch:


What a fun project and great addition to ol' 173. Looking back at old posts while writing this one made me realize the dining room table never got a full post. Hmmm. Anyway, thanks for stopping by - see ya' next time!
